Pumpkin carving is the fourth most common way Americans mark Halloween, with 42 percent of consumers doing it according to the National Retail Federation, and it is also the one most likely to end in disappointment. The usual sequence is the same every year: carve on the first weekend of October, admire it for four days, then watch it collapse inward long before anyone knocks on the door.
Two decisions fix most of that. The first is which pumpkin you buy and what you do to the cut surfaces afterwards. The second is what you put inside it, because the traditional answer is also the one that actively destroys the pumpkin and causes a measurable number of house fires every year. The tools matter less than either, but a kitchen knife is genuinely the wrong tool and the reason most first attempts look rough.
Pumpkin Carving Tools, Stencils and Lights Compared
Work out which job you need solved. Hollowing, cutting outlines and shading surface detail are three different actions, and most kits are good at one or two of them.
| Item | What it is for | Pieces | Notable detail |
|---|---|---|---|
| 26 Piece Professional Kit | Everything, including fine detail | 26 tools plus stencils and stickers | Drill, scoop, spatula, V-shaped and etching knives |
| 13 Piece Kit with Stencils | A complete first kit | 13 tools, 10 stencils, case | Stainless steel with plastic grips and a storage case |
| Messermeister 3-Piece Set | Fewer, better tools | 3 tools | AISI420 stainless, scraper thins thick walls |
| Chef’n 3-in-1 Nesting Set | Hollowing and basic cutting | 3 nesting tools | Scoop doubles as a sheath, dishwasher safe |
| Jack-O’-Genius Stencils | Designs to trace and cut | 60 plus stencils | Sorted into easy, medium and expert |
| Luditek LED Pumpkin Lights | Lighting, with control | 4 lights, remote | Flicker or steady, dimmable, 2 to 8 hour timer |
| merrynights LED Tea Lights | Lighting several pumpkins cheaply | 24 lights | 200 hours per battery, no remote or timer |
Choosing a Pumpkin and Making the Carved One Last
University of Illinois Extension gives the specifics worth following. Choose a pumpkin with a stem at least one to two inches long, pick one with a flat bottom so it stands upright without propping, and avoid anything with holes, cuts or soft spots, because those are where decay starts. Wash it with warm water and let it dry before you carve or display it.
The number to plan around is seven to ten days. That is how long Extension says a pumpkin cut for Halloween will last, depending on the weather, which means carving in the first week of October guarantees a collapsed pumpkin by the 31st. Carve in the last week. After carving, coat the inside and every cut surface with petroleum jelly, which seals the exposed flesh against the air that dries it and the mould that softens it. Keep it somewhere cool when it is not on display.
Warm weather is the variable that overrides everything else, and it is why the same pumpkin lasts a fortnight in one year and four days in the next. If an unseasonably warm week is forecast, carve later rather than earlier, and bring the pumpkin indoors overnight only if indoors is cooler than outdoors, which in October it usually is not.
1. Professional 26 Piece Kit: The One That Covers Every Cut
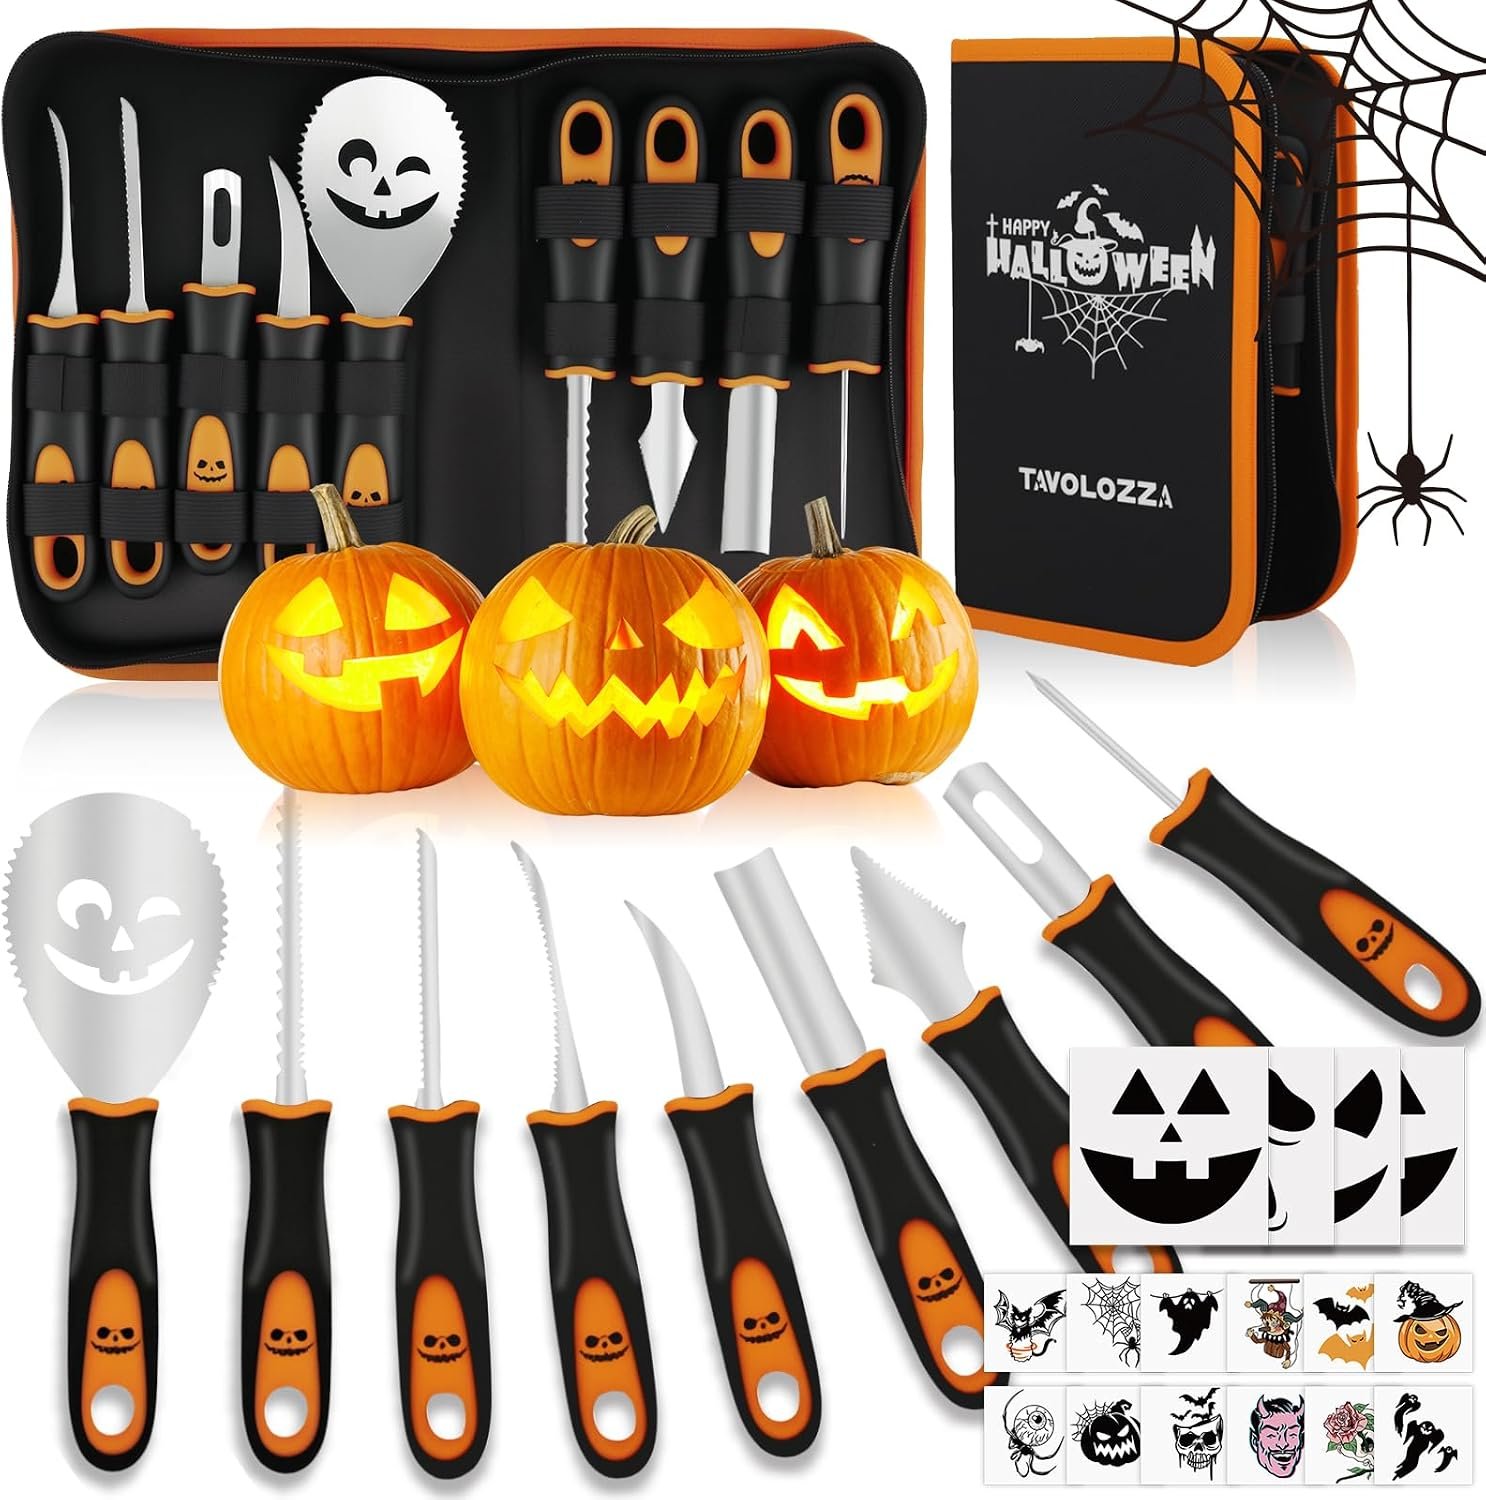
This is the kit for anyone who wants to do more than a triangle-eyed face. The 26 pieces include nine knives, a saw, a scoop, a drill for punching clean holes, a spatula for smoothing, and a set of V-shaped and etching knives for shading the surface without cutting all the way through, which is the technique that separates a good pumpkin from an obvious one.
The handles are built with an anti-slip, anti-cut design, which matters more than it sounds given how slippery pumpkin flesh makes everything, and the whole set lives in a carrying case rather than loose in a drawer. Stencils and Halloween stickers are included. It is more kit than a single pumpkin needs, and it is the one to buy if you carve every year.
What it does well
- Nine knives plus a drill, saw, scoop and spatula.
- V-shaped and etching knives for surface shading.
- Anti-slip, anti-cut handles.
- Carrying case, stencils and stickers included.
What to know before buying
- Far more tools than one pumpkin requires.
- A case to store for eleven months of the year.
- Fine detail tools need practice to use well.
2. Messermeister 3-Piece Set: Three Good Tools Instead of Thirteen Mediocre Ones

Messermeister has made premium kitchen cutlery since 1981 and this is a kitchen company’s answer to the problem. Three tools, AISI420 stainless steel, oversized soft-grip handles, and nothing included for the sake of a higher number on the box.
The three are chosen deliberately. The scraper cleans out seeds and pulp and thins the walls of a thick pumpkin, which is the step most people skip and the reason their cuts tear. The 3.5 inch sawtooth carver cuts lids and patterns and trims edges. The etching tool has a curved, squared-off head with a sharp edge for surface detail. If you carve one pumpkin a year and want it to go well, this is the better purchase.
What it does well
- AISI420 stainless steel from a cutlery manufacturer.
- Oversized soft-grip handles for wet hands.
- Scraper is designed to thin thick pumpkin walls.
- Three tools that each do a distinct job.
What to know before buying
- No stencils and no case.
- Three tools will not cover intricate designs.
- Costs more per tool than the large kits.
3. 13 Piece Kit with Stencils: The Sensible First Kit
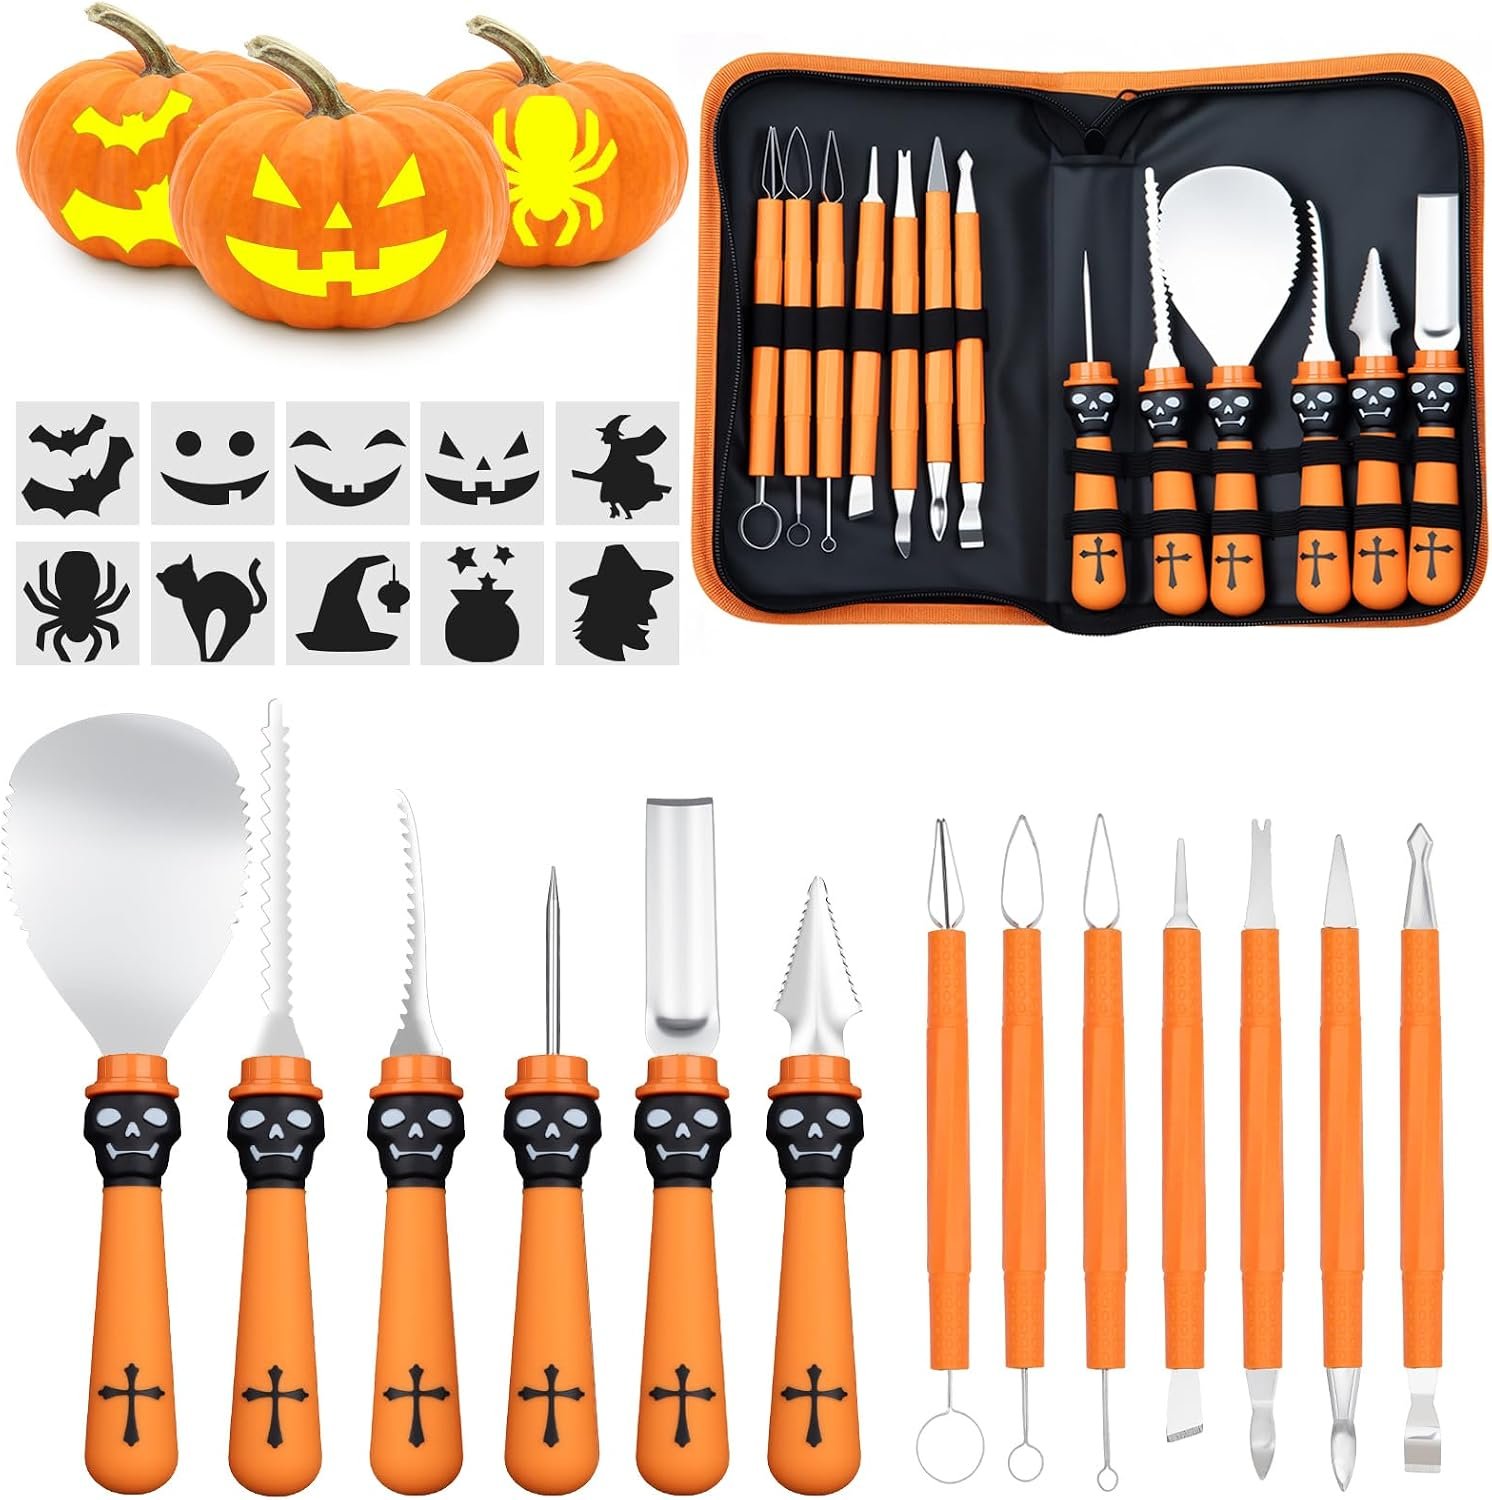
If you have never carved anything more ambitious than a face and do not want to spend much, this is the proportionate buy. Thirteen stainless steel tools with plastic grips, ten stencils and a carrying case, which is enough range to attempt a real design without the twenty-odd specialist blades you will not touch.
The tools cover the basics plus several detail options, so there is somewhere to progress to rather than a hard ceiling after the first pumpkin. The stencils are the useful inclusion for a beginner, because tracing a design is considerably easier than drawing one freehand on a curved surface. The handles are themed to match Halloween decorations, which is cosmetic but makes it obvious which drawer they belong in.
What it does well
- Thirteen tools covering basic and detail work.
- Ten stencils included for tracing designs.
- Carrying case for storage between years.
- Easy-grip handles sized for adults and older children.
What to know before buying
- Plastic handles rather than the soft-grip premium kind.
- Ten stencils is a small library.
- Not the kit for genuinely intricate work.
4. Chef’n 3-in-1 Nesting Set: The Best Answer to the Hollowing Problem

Hollowing is the tedious, messy part and the part cheap kits are worst at. Chef’n has built three tools for it that nest inside one another: a stainless steel serrated blade that saws through pumpkins, squashes and melons, a flat scraper for cleaning the inside quickly, and a scoop.
The design detail that makes it work is that the spoon cover acts as a sheath for the blade, so the saw is covered while you scoop and the whole set stacks into a drawer rather than rattling around loose. Every piece is top-rack dishwasher safe, which is not true of most carving tools and matters a lot with pumpkin pulp. It will not do fine detail, so pair it with something that will.
What it does well
- Nesting design stores in a drawer without a case.
- Scoop cover sheathes the saw blade when not in use.
- Flat scraper cleans the inside quickly.
- All pieces top-rack dishwasher safe.
What to know before buying
- Three tools, none for fine detail.
- Not a complete carving solution on its own.
- Works on squash and melons, which is beside the point here.
5. Luditek LED Pumpkin Lights: The Light You Should Actually Use

This four pack is what belongs inside a carved pumpkin. Each light has a candle mode that flickers convincingly and a steady mode, both dimmable from the included remote, so you can match the brightness to the thickness of the pumpkin walls rather than blasting light through them.
The timer is the feature that justifies the price over a plain tea light. Set it for 2, 4, 6 or 8 hours and it switches off, then comes back on at the same time the next evening, which means the pumpkin lights itself every night of the week without anyone remembering. Each light runs on three AAA batteries. There is no flame, no smoke and no heat cooking the pumpkin from the inside.
What it does well
- Flickering candle mode plus a steady mode.
- Dimmable via the included remote.
- Timer cycles automatically at the same time daily.
- No heat, so it does not cook the pumpkin.
What to know before buying
- Three AAA batteries per light adds up across four.
- A remote is one more thing to lose.
- Four lights is a lot if you carve one pumpkin.
6. merrynights Flameless Tea Lights: 24 Lights for a Whole Display
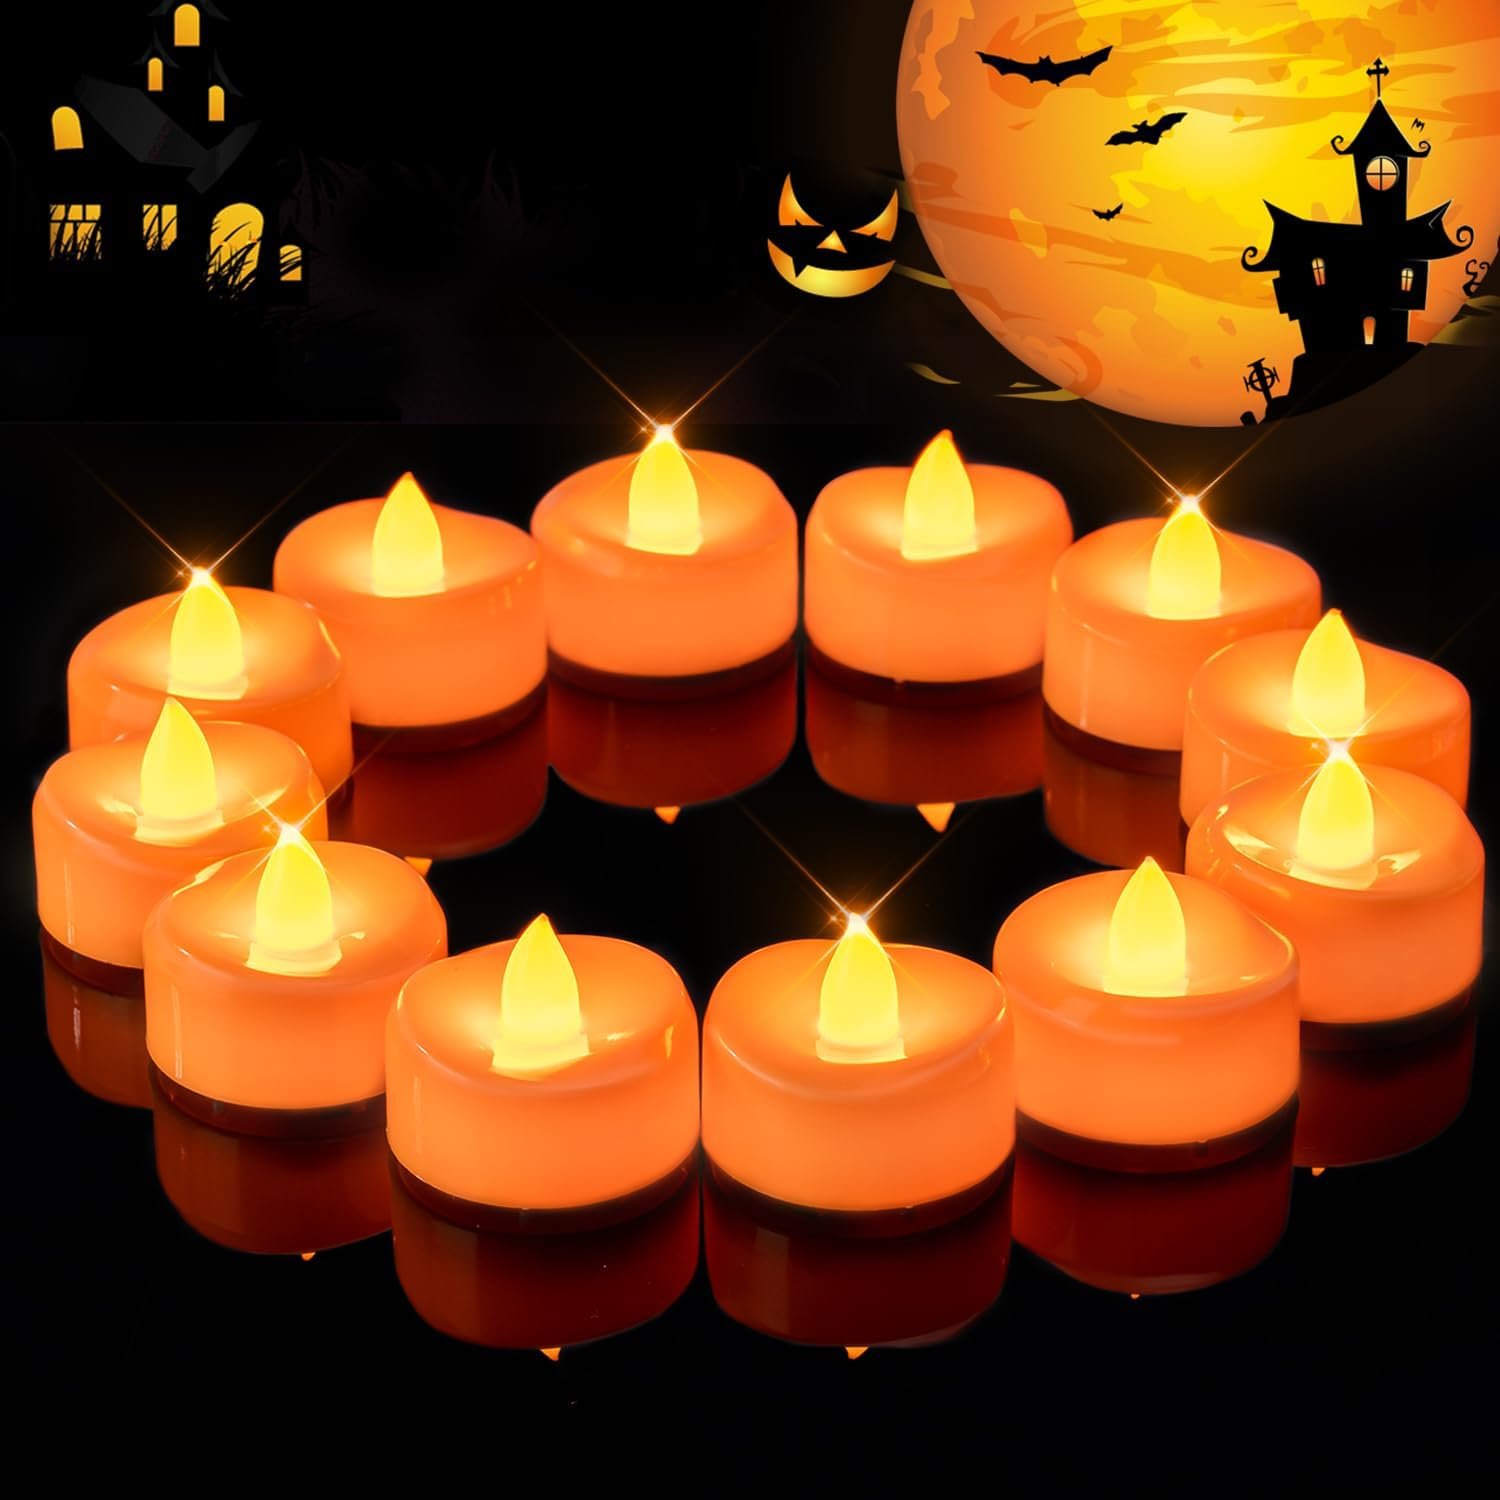
If you are lighting a porch full of pumpkins, lanterns and jars rather than a single jack-o-lantern, buying four remote-controlled lights makes no sense. This is 24 orange-shelled LED tea lights with a warm white flicker, each 1.5 inches across and 1.25 inches tall, which fits anything.
The CR2032 batteries come preinstalled and run for more than 200 hours, so a single set covers the whole season across every pumpkin you own. There is no timer and no remote, so each one switches on and off at the bottom, and merrynights has added a secured battery cover specifically to stop small children getting at the cells, which is the one genuine hazard with button-battery tea lights.
What it does well
- 24 lights, enough for a whole porch display.
- More than 200 hours per preinstalled battery.
- Secured battery cover against child access.
- Small enough for lanterns and jars as well as pumpkins.
What to know before buying
- No timer and no remote, so each is switched by hand.
- Button cells are a swallowing hazard if the cover fails.
- Dimmer than the larger pumpkin lights.
7. Jack-O’-Genius Stencils: 60 Designs Sorted by How Hard They Are

The hardest part of carving a good pumpkin is deciding what to carve, and freehand on a curved orange surface is where most attempts go wrong. This book holds more than 60 stencils you cut out and tape on, sorted into easy, medium and expert, which is the sorting that actually helps.
Graded difficulty means a household can carve together without one person attempting something beyond them and ruining a pumpkin. Give a child an easy design and take an expert one yourself. The technique is the same at every level: tape the stencil on, punch through the lines with a pin or a drill tool to transfer the outline, remove the paper and then cut between the dots.
What it does well
- More than 60 designs in one book.
- Graded easy, medium and expert.
- Cut-out pages designed to be taped onto the pumpkin.
- Lets a mixed-ability household carve together.
What to know before buying
- A book to store or throw away afterwards.
- Paper stencils tear when they get wet.
- Expert designs need detail tools the basic kits lack.
Why a Candle Is the Wrong Thing to Put in a Jack-o-Lantern
Two separate problems, and both are documented. The first is that it ruins the pumpkin: Illinois Extension says plainly to avoid candles because the heat cooks the flesh and shortens the pumpkin’s life, which is why a candlelit pumpkin softens around the cuts within days.
The second is fire. The National Fire Protection Association recorded an average of 835 home structure fires a year starting with decorations between 2020 and 2024, causing an average of three deaths, 29 injuries and $18 million in property damage annually. Nearly half, 47 percent, happened because a decoration was too close to a heat source, and about a third were started by candles. The NFPA recommendation is explicit: use glow sticks or battery-operated candles in jack-o-lanterns.
The practical steps are short and worth following exactly.
- Use battery lights or glow sticks, never an open flame.
- Carve in the last week of October, not the first.
- Coat every cut surface and the whole inside with petroleum jelly.
- Thin the wall behind any area you plan to carve in detail.
- Transfer stencils by punching the outline rather than drawing it.
- Keep the pumpkin somewhere cool whenever it is not on display.
The jack-o-lantern tradition came to America with Irish and Scottish immigrants who had been carving turnips, and the pumpkin was simply the larger, softer vegetable that happened to be available. Nothing about the tradition requires a flame. If the rest of the porch still needs filling, our guide to the best halloween inflatables covers what survives wet weather, and the best halloween animatronics are the mains powered end of the same idea.
Which Pumpkin Carving Kit to Buy
For most households the 13 Piece Kit with Stencils is the right amount of equipment: enough tools to attempt a real design, ten stencils to trace, and a case so it survives until next year. Buy the Messermeister 3-Piece Set instead if you would rather own three genuinely good tools than thirteen adequate ones, and the 26 Piece Professional Kit if you carve several pumpkins every year and want the etching and V-shaped knives for surface shading.
Whatever you carve with, do not light it with a candle. The Luditek four pack is the better choice for a single pumpkin on a porch because the timer means it lights itself every evening, and the merrynights 24-pack is the right answer for a whole display. Add the Chef’n nesting set if hollowing is the part you dread, and the Jack-O’-Genius stencils if deciding what to carve is. For the bowl by the door, our guide to halloween candy covers how much you actually need.
Frequently Asked Questions
How long does a carved pumpkin last?
Seven to ten days depending on the weather, according to University of Illinois Extension. Warm weather shortens it considerably. That figure is the single most useful thing to know about carving, because it means a pumpkin cut on the first weekend of October will not survive to Halloween, and the fix is simply to carve in the last week instead.
Does petroleum jelly really stop a pumpkin rotting?
It slows it meaningfully, and Extension recommends it directly: coat the inside and the cut surfaces after carving. The cut flesh is what dries out and what mould colonises, and sealing it against the air is the reason it works. It is not a preservative and it will not give you a month, but it buys days.
Should I cut the lid from the top or the bottom?
Cutting a hole in the base rather than a lid on top lets you lower the pumpkin over a light instead of reaching in, and it keeps the stem intact, which looks better. The trade is that you lose the lid as a way of getting a hand inside to hollow it, so most people still cut from the top the first time. Either way, angle the cut inwards so the piece cannot fall through.
Is a kitchen knife good enough for carving a pumpkin?
It is the main reason first attempts look rough. A kitchen knife is long, smooth-edged and designed to slice rather than saw, so it binds in thick flesh and tears the cut rather than cleaning it. A short serrated carving saw cuts curves without binding, and a scraper thinning the wall first makes every subsequent cut easier. The tools are cheap and they genuinely change the result.
Related Articles
- Best Halloween Decorations: 7 Compared on Setup, Weather and Size
- Best Halloween Movies Ranked by How Frightening They Actually Are
- Best Group Halloween Costumes: 7 Sets Compared on Sizing and Fit
As an Amazon Associate, CanyonWire earns from qualifying purchases.